Before step one
- A Windows PC. UEFN doesn't run on a Mac. Check step 1 before you plan anything else.
- An adult on the account. Registering as a developer and publishing requires being 18 or older. If you're working with a younger artist, the account that publishes has to belong to an adult.
- Time. Installing Fortnite and UEFN is a large download. Do it the day before, not the hour before.
- The rights to your music, in writing if it isn't all yours.
Epic changes requirements, menu names and program names regularly (the developer program has been renamed before). Every step links to the official page it's based on. If what you see doesn't match, Epic's page wins.
Check your computer
UEFN runs on Windows PCs only. The Epic Games Launcher and Fortnite itself run on more platforms, but the editor doesn't.
| Minimum | Recommended | |
|---|---|---|
| OS | Windows 10 64-bit, version 1909 revision .1350 or higher | Same, with DirectX 12 support |
| CPU | Quad-core Intel or AMD, 2.5 GHz or faster | Quad-core Intel or AMD, 2.5 GHz or faster |
| Memory | 16 GB RAM | 32 GB RAM or more |
| Graphics | Nvidia GTX 960, AMD R9 280 or equivalent DX11 GPU, 4 GB VRAM | DirectX 12 GPU with latest drivers, 8 GB VRAM or more |
| Storage | NVMe SSD | NVMe SSD |
Find your specs on Windows under Settings → System → About (CPU, RAM) and in Task Manager's Performance tab (GPU and its memory).
Minimum spec will open a small project. A full venue with dozens of lights, post-process looks and a cinematic will be painful on 16 GB. If you can, work on the recommended spec.
You've compared your PC against the table and it meets at least the minimum on every row.
Create an Epic Games account, and secure it
Everything hangs off one Epic Games account: the editor, the Creator Portal, your developer registration and every island you publish. Decide now whose account that is. For a band or a venue, it's usually worth a dedicated account rather than someone's personal gaming account.
What to do
- Create an account at epicgames.com (or sign in to an existing one).
- Turn on two-factor authentication in the account's security settings.
- Write down who holds the login and the 2FA device.
Building an artist's island on a band member's personal account works until that person leaves. Moving published islands between accounts isn't something to count on.
You can sign in at epicgames.com and it asks for your second factor.
Install the Epic Games Launcher and Fortnite
UEFN uses the Fortnite client for playtesting, so Fortnite has to be installed on the same machine.
What to install
- Epic Games Launcher: download from store.epicgames.com, install, sign in with the account from step 2.
- Fortnite: search for it in the Launcher, click Get, then Install.
Fortnite starts from the Launcher and you reach the lobby.
Install Unreal Editor for Fortnite (UEFN)
UEFN is free and installs from the same Launcher. Verse, the programming language used in these tutorials, comes with it; there's nothing separate to install for the language itself.
What to install
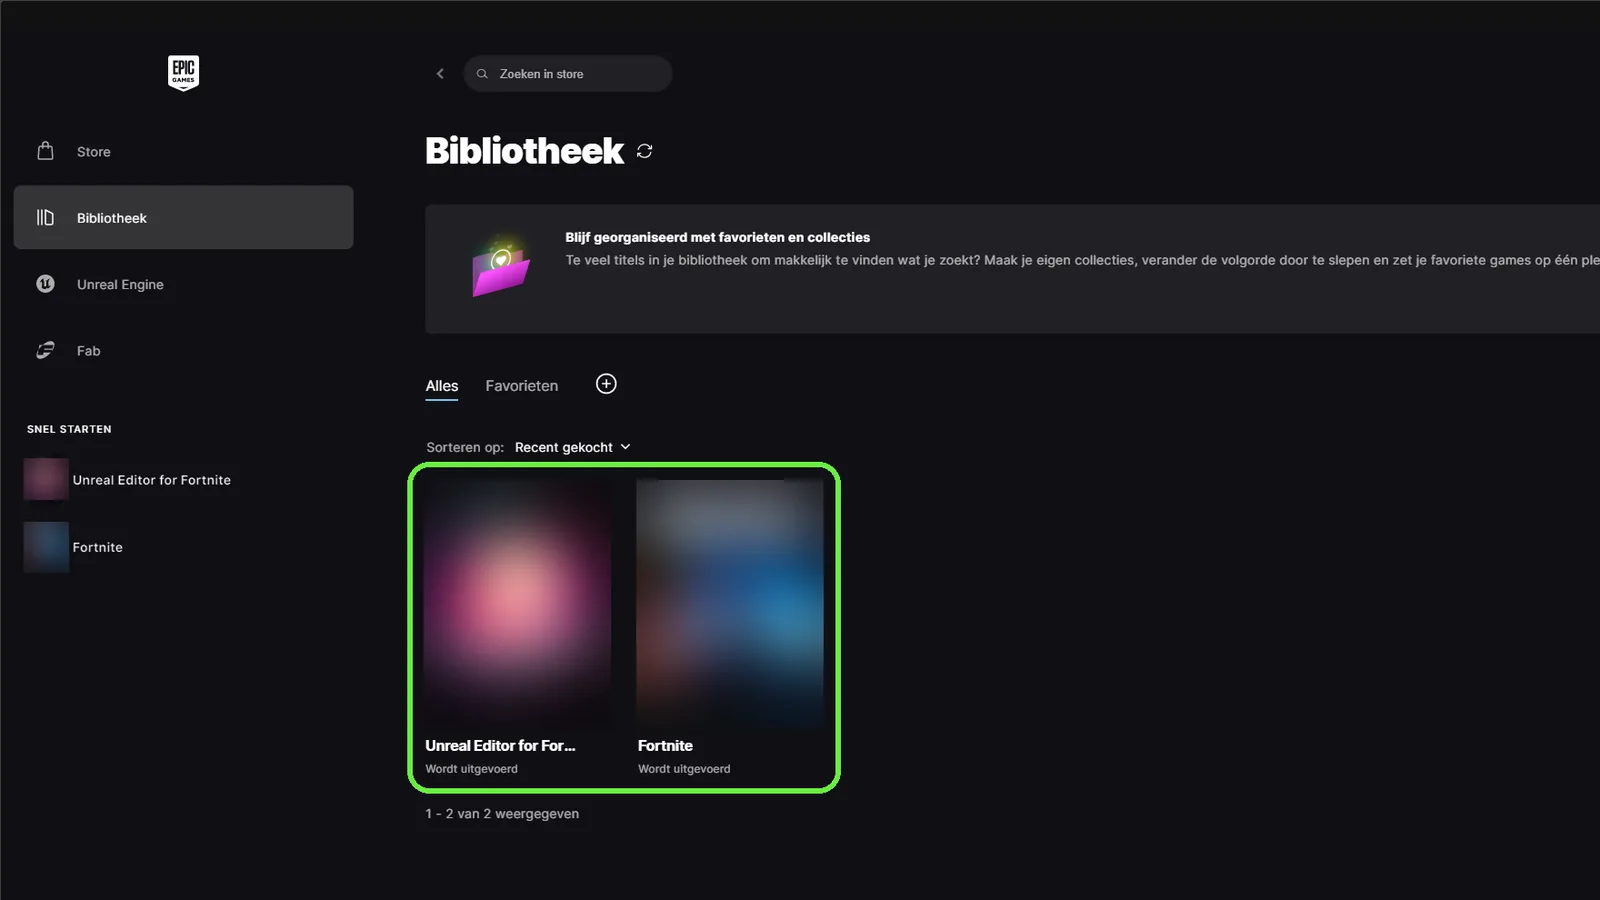
- In the Launcher, search for Unreal Editor for Fortnite and click Download.
- Launch it from Library → Unreal Editor for Fortnite.
- Verse files open in Visual Studio Code. If double-clicking a Verse file in step 7 doesn't open an editor, install VS Code from code.visualstudio.com.
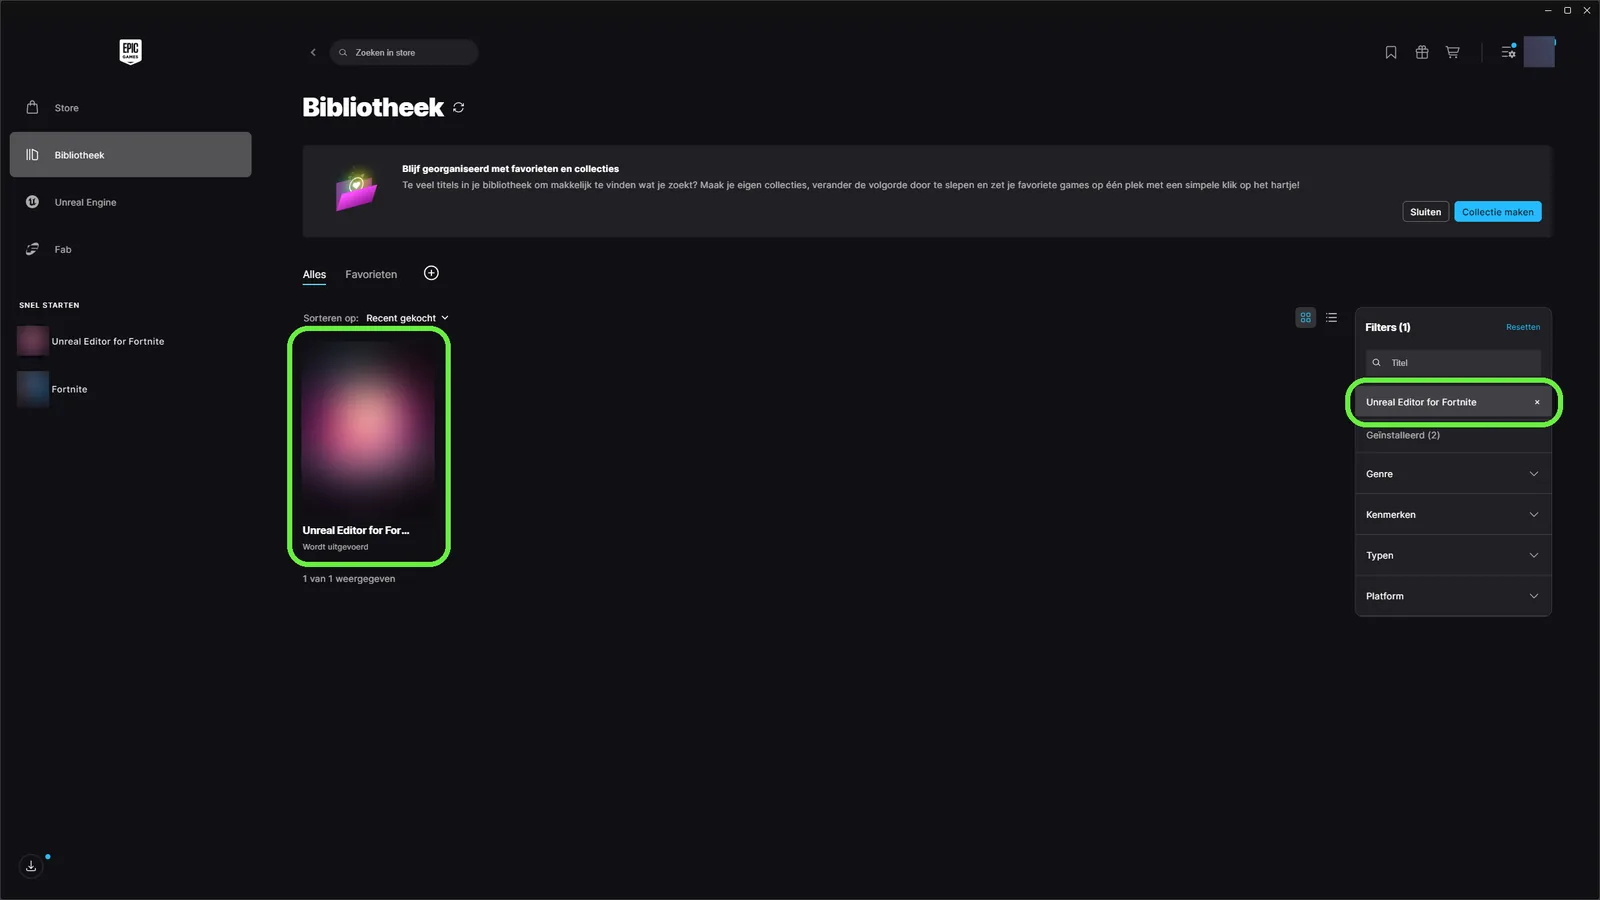
Epic's install page says UEFN also installs a Visual Studio component for Verse. What exactly gets installed has changed between versions. If step 7 works, you have what you need.
UEFN opens and shows its project browser.
Register as a developer with Epic
You can build and playtest without registering. To publish an island (and earn engagement payouts), the account must be enrolled in the Fortnite Developer Program through the Creator Portal. Do it early: it has requirements you may not meet on the day.
| Requirement | Detail |
|---|---|
| Age | 18 or older |
| Recent purchase (one of) | A real-money purchase in the last 365 days on the Epic Games Store, Fab.com, Fortnite.com or Fortnite PC, or $20 spent and redeemed in Fortnite in the last 365 days on any platform. Gift cards and account balance don't count. |
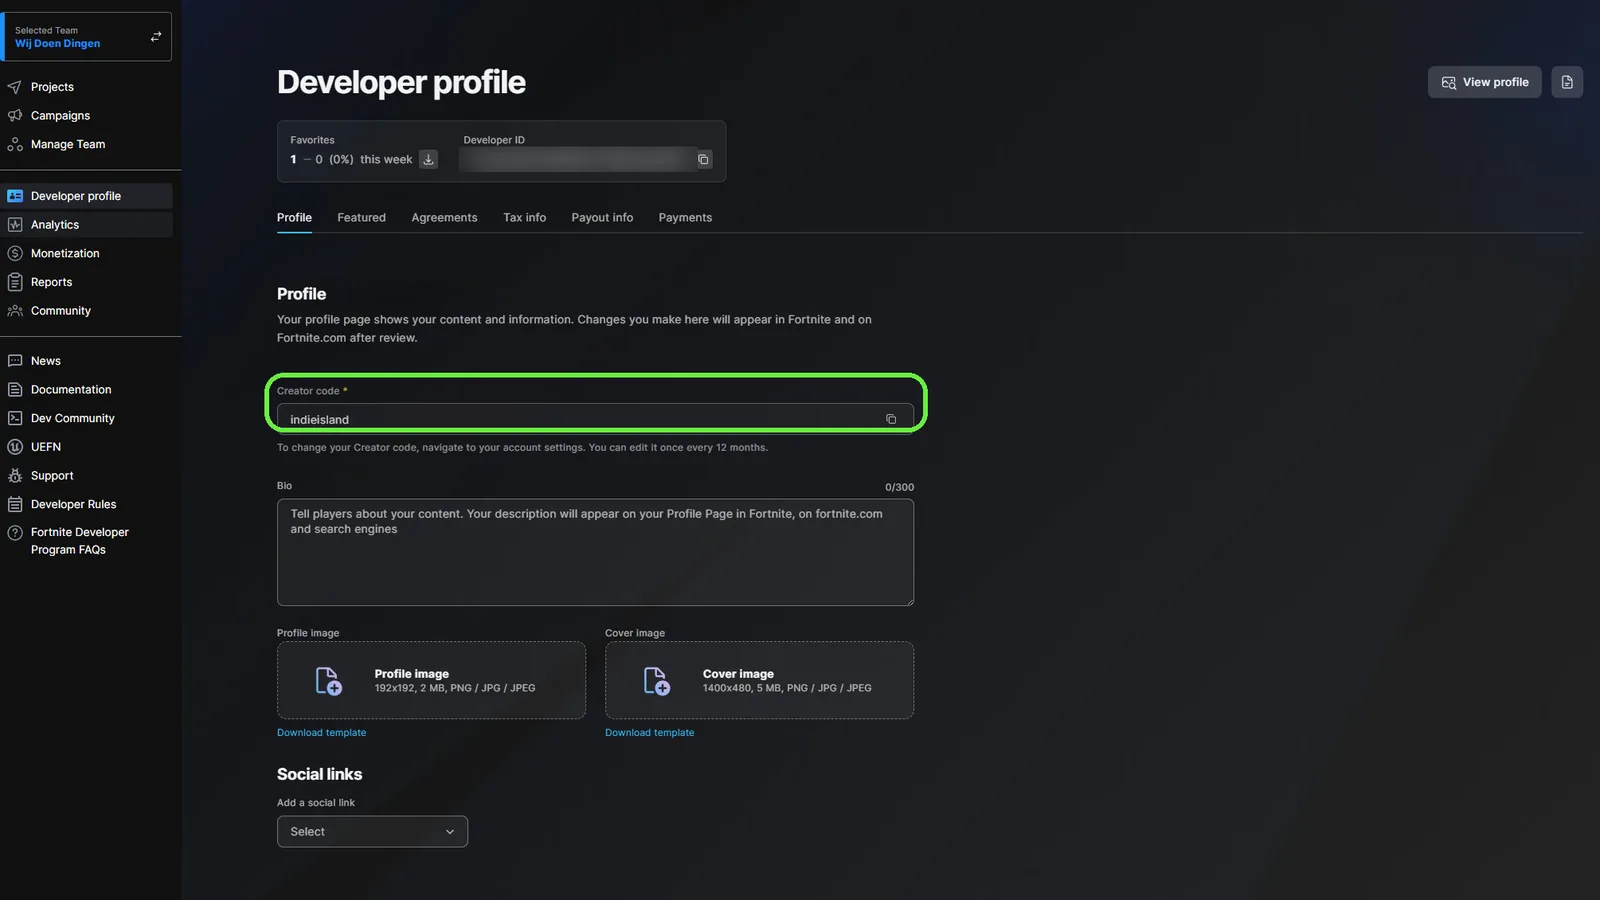
| Creator code | 3–16 characters: letters, numbers, _ - .. This is the developer name your islands are published under. It can only be changed once a year. |
What to do
- Go to create.fortnite.com and sign in with your Epic account.
- Click Enroll; the portal checks your eligibility.
- Read and accept the developer terms and community rules.
- Pick your creator code. For an artist, use the artist name.
- Optional, for payouts: complete the tax interview (Tax Identity) and activate the Hyperwallet payout account you get by email. Approval can take up to five business days.
The purchase rule catches new, dedicated band accounts: they've never bought anything. Make a qualifying purchase on that account well before you need to publish.
You can sign in to create.fortnite.com and see the Creator Portal dashboard with your creator code.
Create your first project
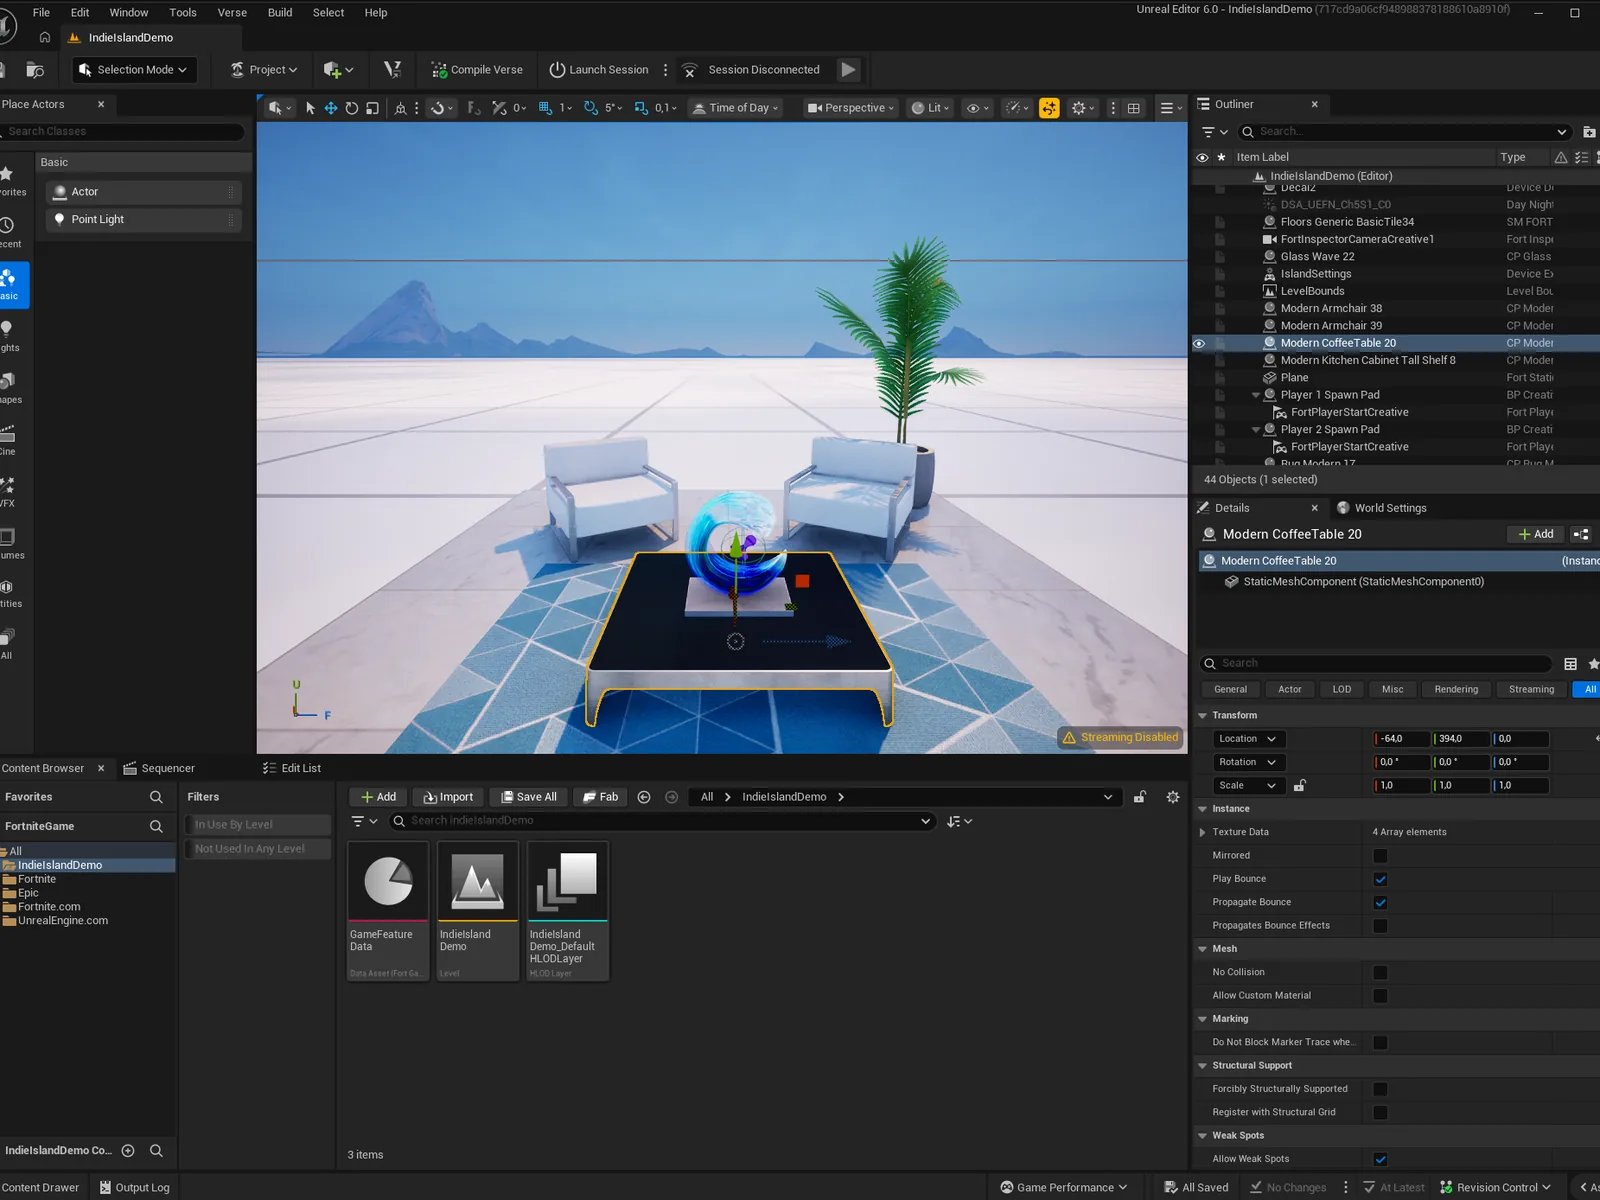
In the project browser, pick a template (a blank or starter island is fine), give the project a name you'll recognise, and create it. The editor opens. These tutorials refer to five parts of it constantly:
| Panel | What it's for |
|---|---|
| Viewport | The 3D world. Place and move things here. |
| Outliner | A list of everything in the level. Rename things here. |
| Details | Settings of whatever is selected. Most "wiring" in these tutorials happens here. |
| Content Browser | Your files: imported audio, props, devices. Drag from here into the Viewport. |
| Verse Explorer | Your Verse files. Open it from Verse → Verse Explorer. |
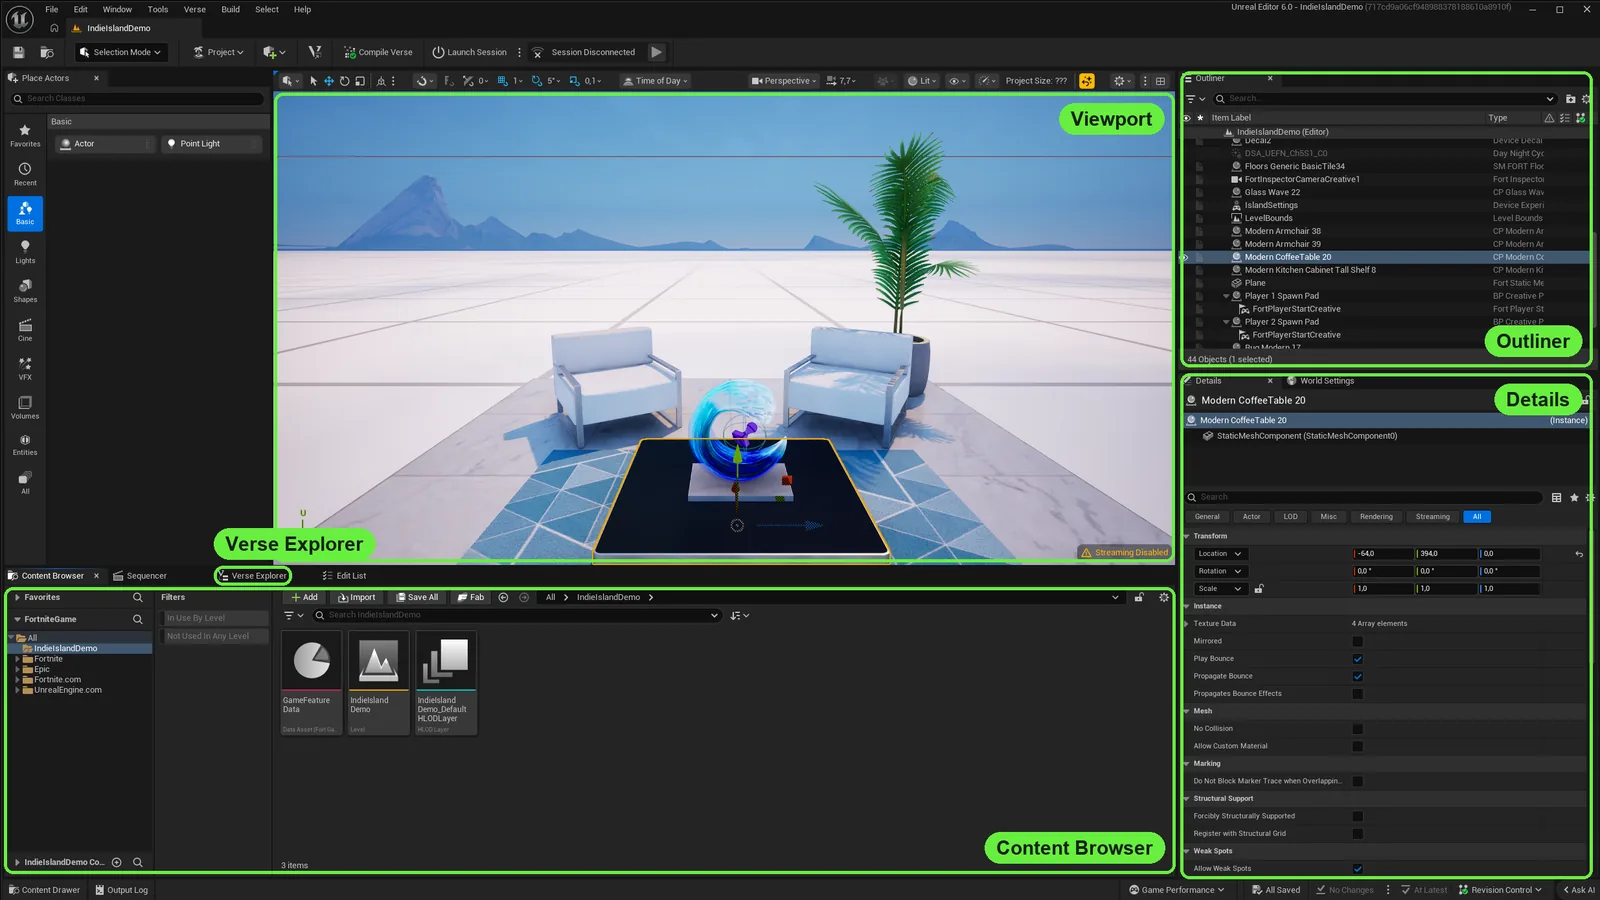
You can place a device from the Content Browser into the Viewport, select it, and change one setting in the Details panel.
Add a Verse file (including one you downloaded)
Every tutorial here comes with complete Verse files to download. This is how you get one into a project. The file name matters: name the new file exactly like the downloaded one.
What to do
- Open Verse → Verse Explorer.
- Right-click your project name and choose Create Verse File.
- Pick the Verse Device template and give it the same name as the downloaded file (for example
lobby_manager). Click Create. - Double-click the new file to open it in Visual Studio Code. Select everything, delete it, and paste in the contents of the downloaded file. Save.
- Back in UEFN: Verse → Compile Verse Code.
- Your device appears in the Content Browser, in your project folder, with the same name as the file. Drag it into the level.
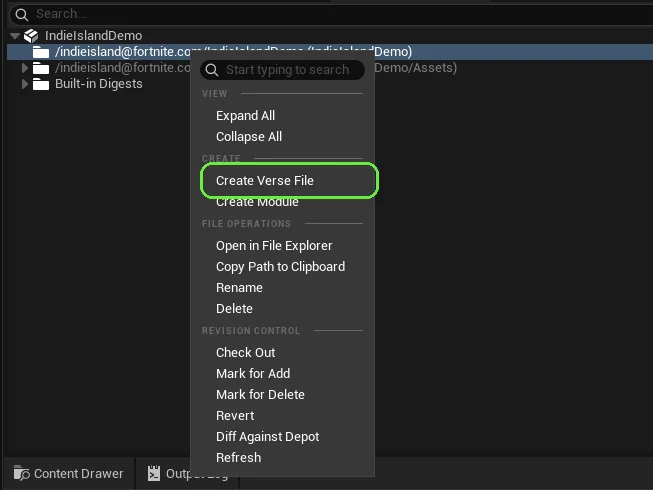
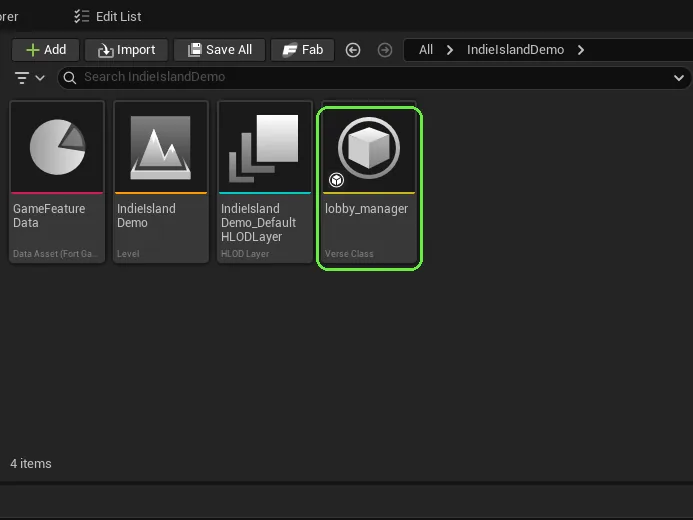
A Verse device that compiles still does nothing until its @editable fields are wired to real devices in the Details panel. Empty fields don't error; the code just silently skips them.
Compile Verse Code finishes without errors and the device is in your level with its Details panel showing its settings.
Playtest it
Click Launch Session in the toolbar (then Start Game if asked). UEFN opens the Fortnite client and connects it to your editor session. Changes you make in the editor can be pushed to the running session without restarting it.
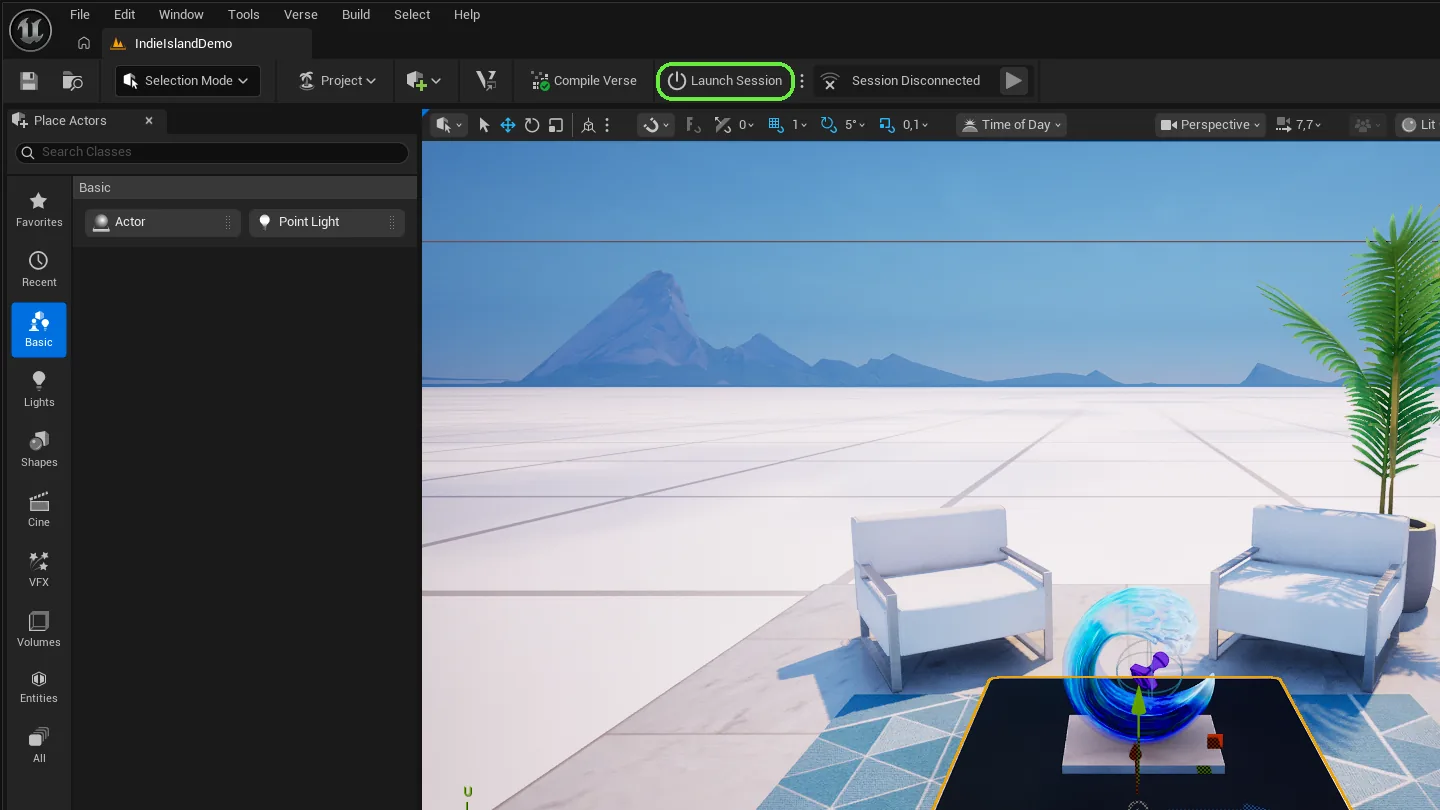
Testing alone hides most bugs in these tutorials. Late joiners, respawns and mass teleports only misbehave with more than one player. That's step 9.
Your character is standing on your island in Fortnite, and something you change in the editor shows up in the session.
Bring in testers
You can test privately before anything is public. The route: upload a private version, create a playtest for it in the Creator Portal, and invite people you trust.
What to do
- Collaborators who build with you: Project → Share with Team opens the Creator Portal to set up a team.
- In UEFN: Project → Upload to Private Version.
- In the Creator Portal, open your project, go to Playtests and create a playtest for that private version. You get a playtest island code.
- Use Manage Team → Add New Playtesters, copy the invite URL, and send it to your testers.
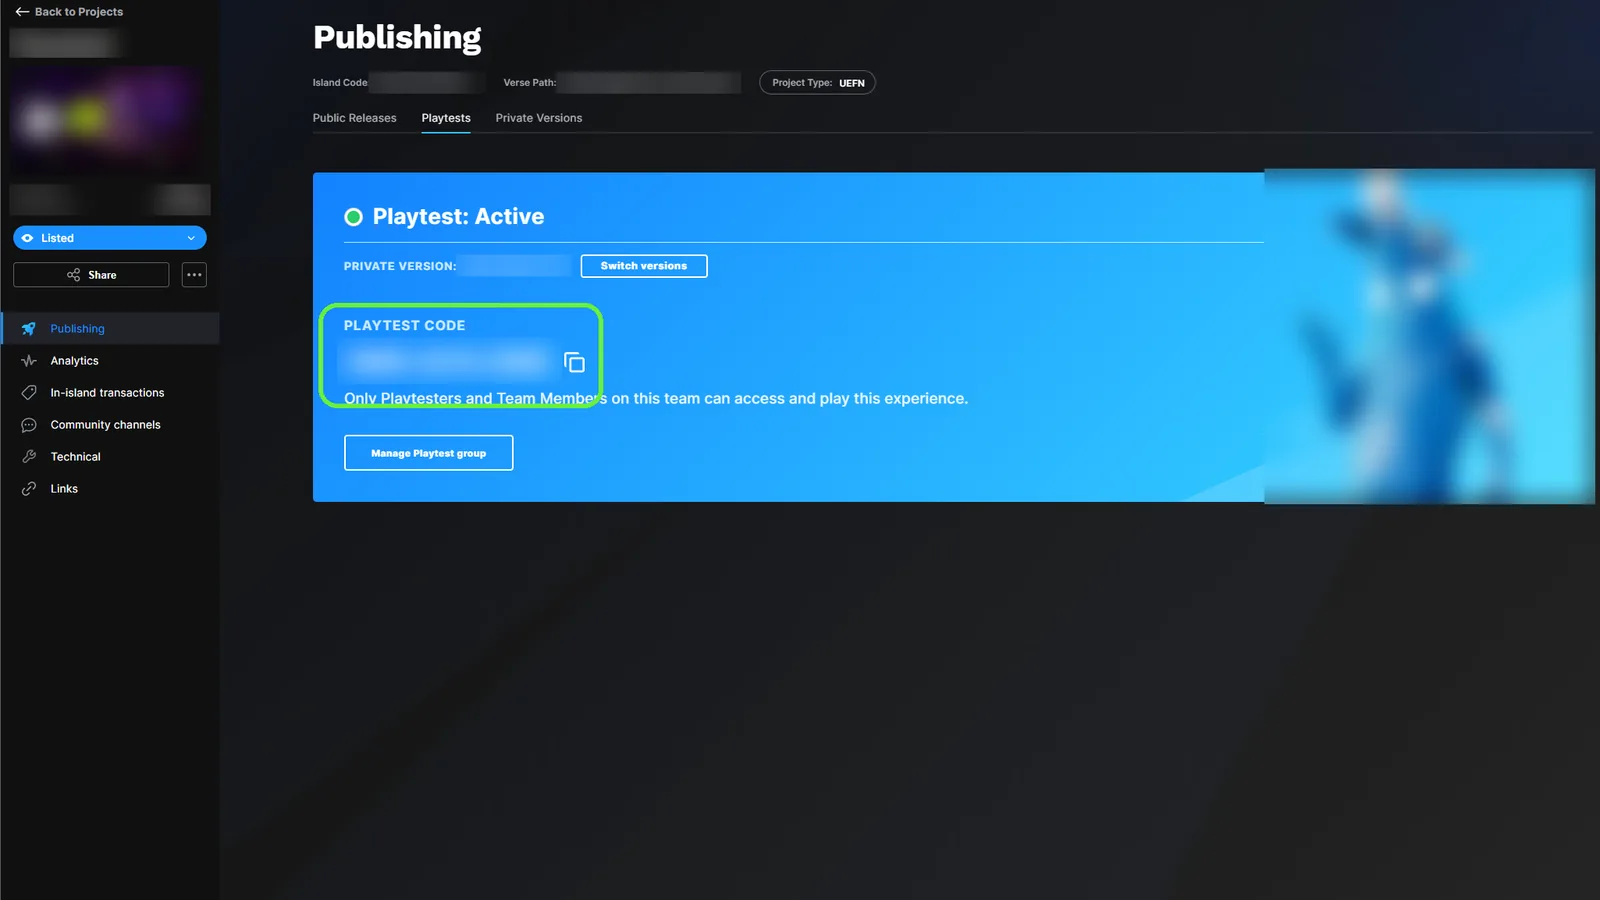
A tester on their own PC or console enters the playtest code and appears in your island with you.
Import your music
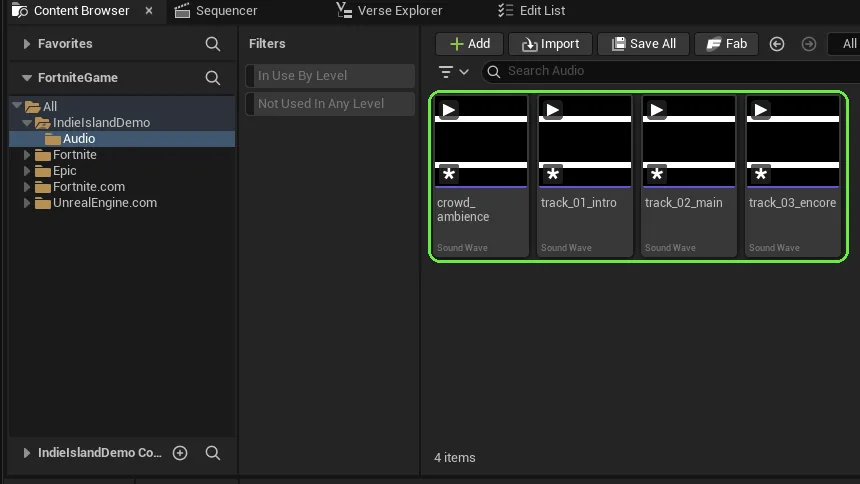
UEFN imports .wav, .ogg, .aif and .slac. Drag the files into the Content Browser. Import one file per track, not one long mix: the concert tutorial starts and stops songs individually.
What to do
- Export each track as
.wav, named after the track. - Make a folder in the Content Browser (e.g.
Audio/Tracks) and drag the files in. - Drop an Audio Player device in the level and assign one track to test.
Only upload music you own or have licensed for this use. Islands go through moderation, and a rights problem found after you've announced a date is the worst time to find one.
In a playtest you walk up to the Audio Player, trigger it, and hear your track.
Publish
Publishing goes through the Creator Portal and includes a review by Epic. Plan it well before any date you announce.
- In UEFN: Project → Publish Project. This creates a private version.
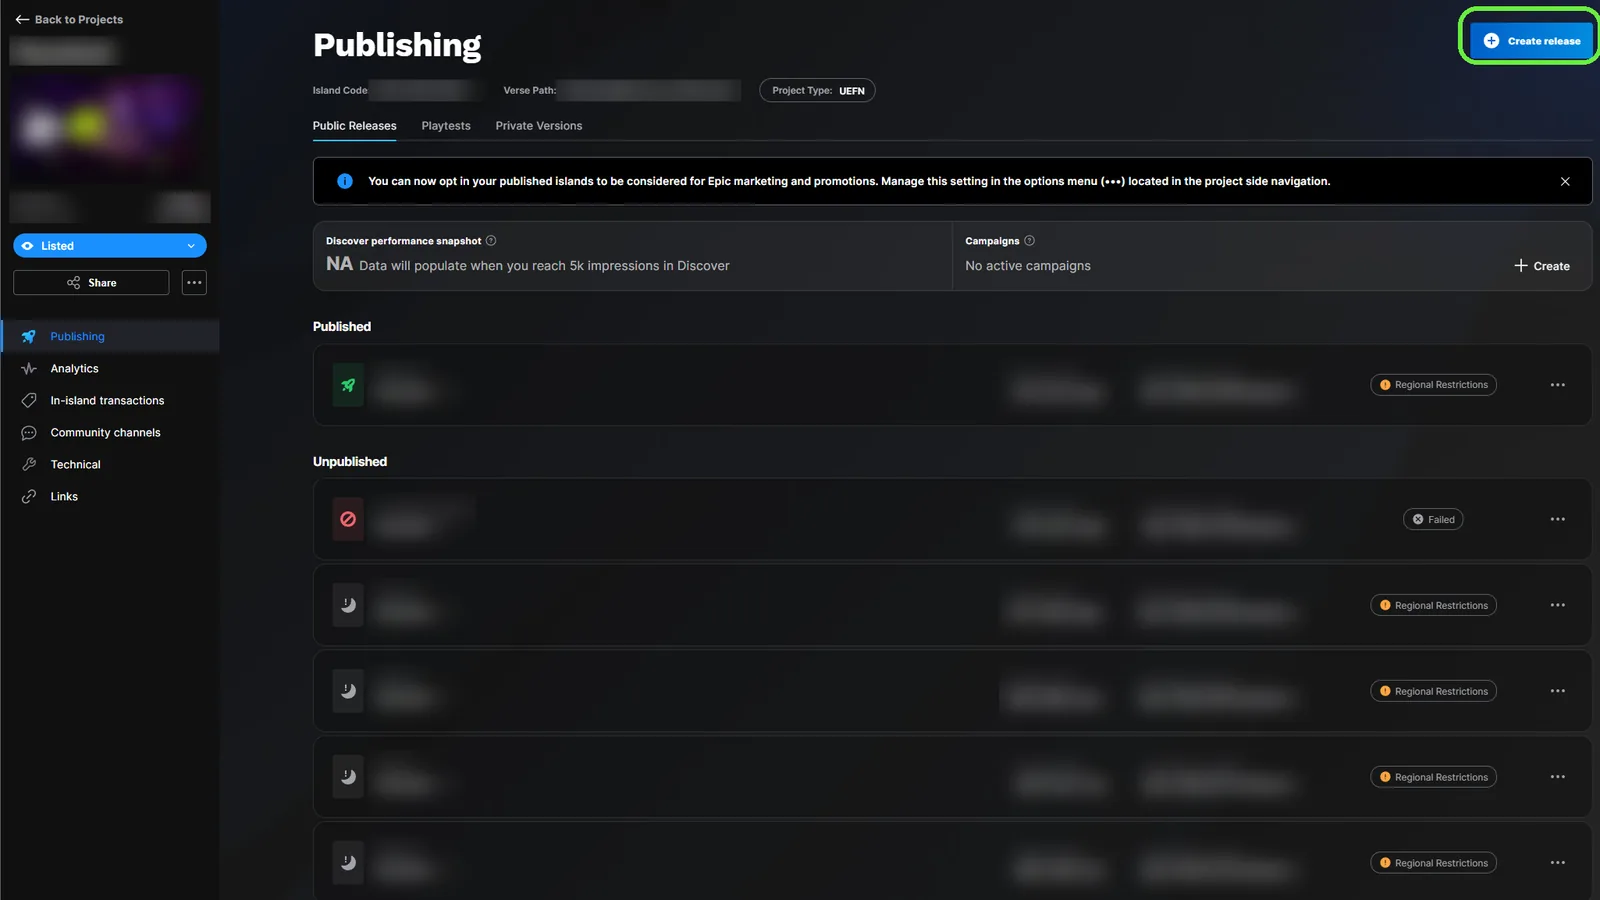
- In the Creator Portal: Projects → your project → Private Versions → select it → Create release. The version is validated.
- Fill in the island's title, description and images.
- Complete the IARC age-rating questionnaire and accept the rating.
- Review in-island transactions, add promotional media (thumbnail, trailer, lobby background) and attributions for any third-party assets.
- Set visibility and click Submit for review. Epic reviews the page and assets, then the gameplay.
Anything saved in a persistable Verse class becomes permanent at first publish. Read tutorial 02 before you publish anything that saves player data.
The review is approved and someone who isn't on your team can join the island with its public code.
Setup checklist
Tick these off, then pick a tutorial.